Email: BlueMail Tutorial
Step 1
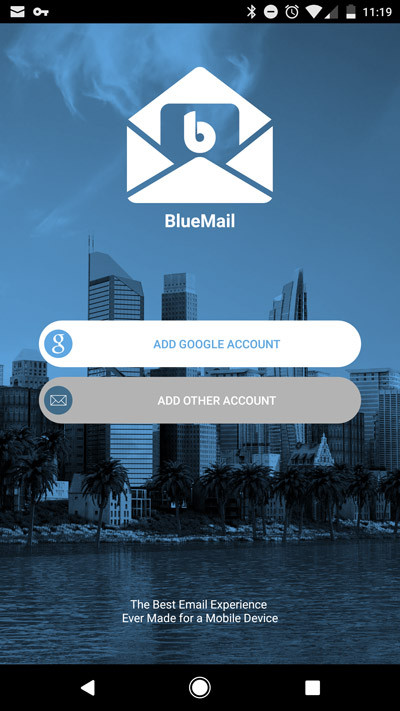
From the home screen, open your BlueMail application.
Step 2
Press Add Other Account.
Step 3
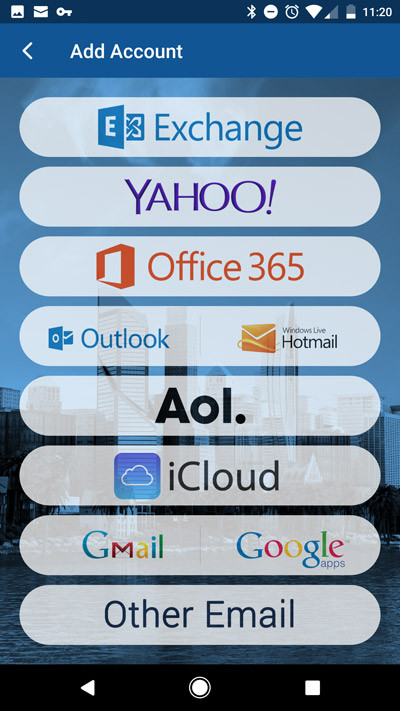
Choose Other Email.
Step 4
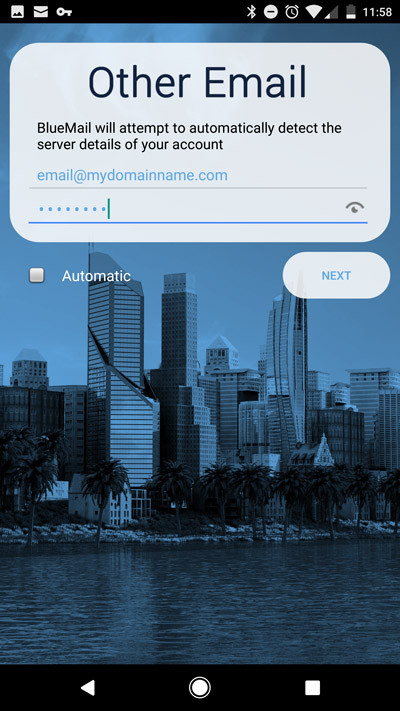
Type in your email address, then uncheck Automatic. Click next.
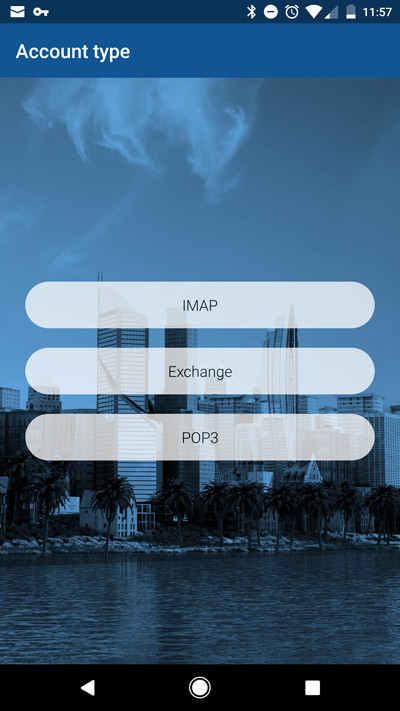
Step 5
Choose IMAP.
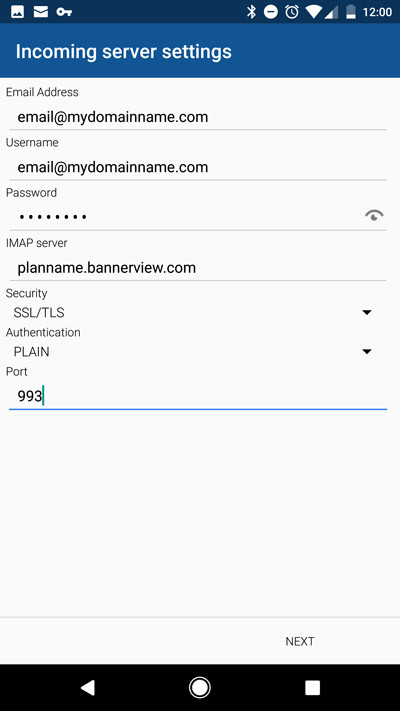
Step 6: Incoming Server Settings
Enter your Incoming Server Settings as specified below:
Email: Enter your full email address
Username: Enter your full email address
Password: Enter in your password which was created for this email account
IMAP Server: Enter in planname.bannerview.com
(Replace 'planname' with your hosting plan name, which is usually the same as your BannerView.com hosting account username. If you're not sure, your plan name can be found in the Welcome email you received when you signed up for services, or by logging into your BannerView.com hosting account and scrolling to the bottom of the Account Dashboard. Confused? Watch this Video)
Security: SSL/TLS
Port: 993
Press Next.
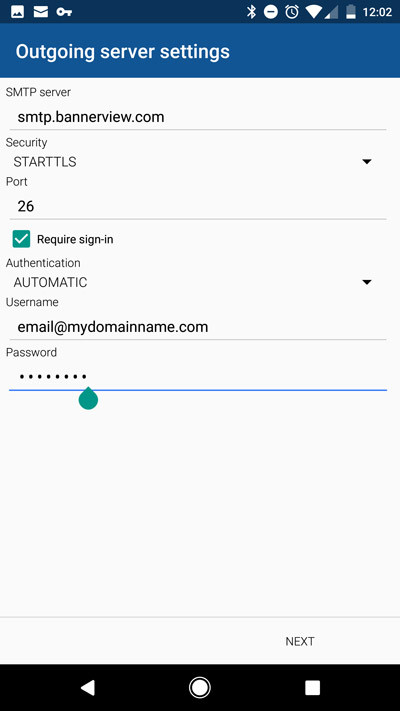
Step 7: Outgoing Server Settings
Enter the Outgoing Server Settings as specified below:
SMTP server: smtp.bannerview.com
Security: STARTTLS
Port: 26
Check the box: Require sign-in
Authentication: AUTOMATIC
Username: Enter your full email address
Password: Enter in your password created for this email address
Press Next.
Step 8
Name your account and give it a description. Press done.

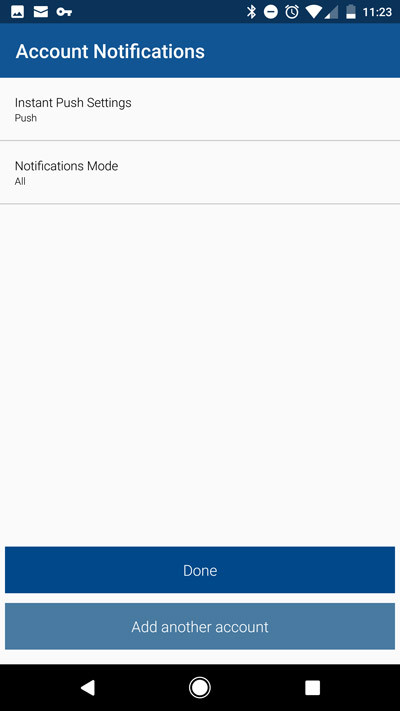
Step 9
Choose your account notification settings, then press done.