Outlook 365 Tutorial
Step 1
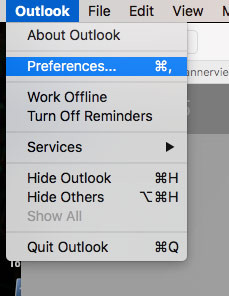
Access your Outlook email program.
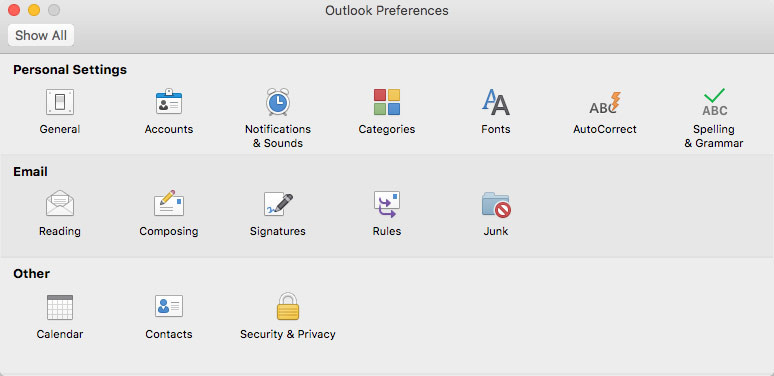
Click the Outlook menu and select Preferences, then click Accounts.
Step 2
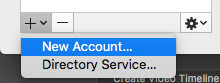
In the accounts menu, click the plus (+) icon at the bottom and select New Account
Step 3
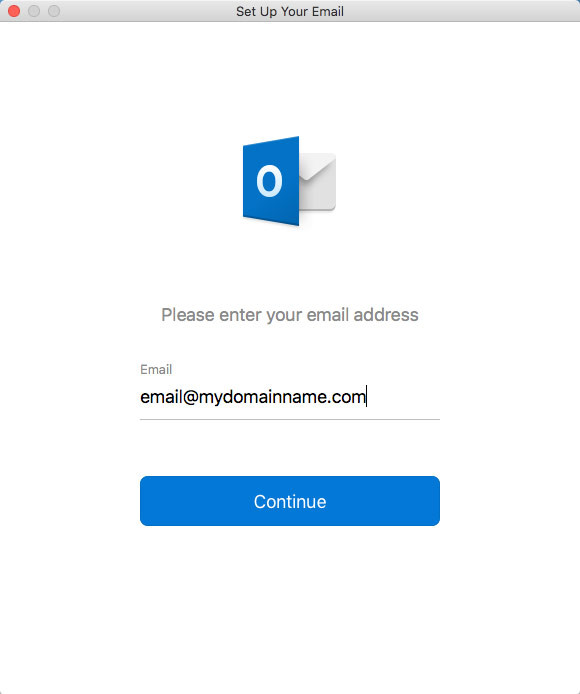
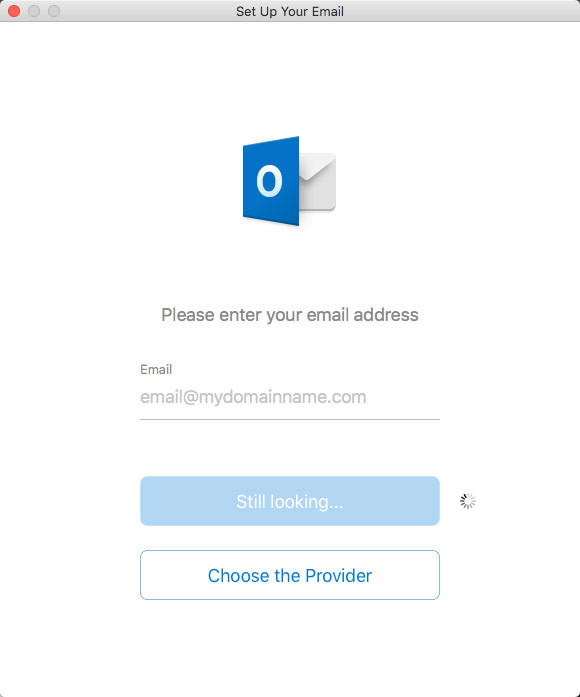
Fill in the email field with your full email address.
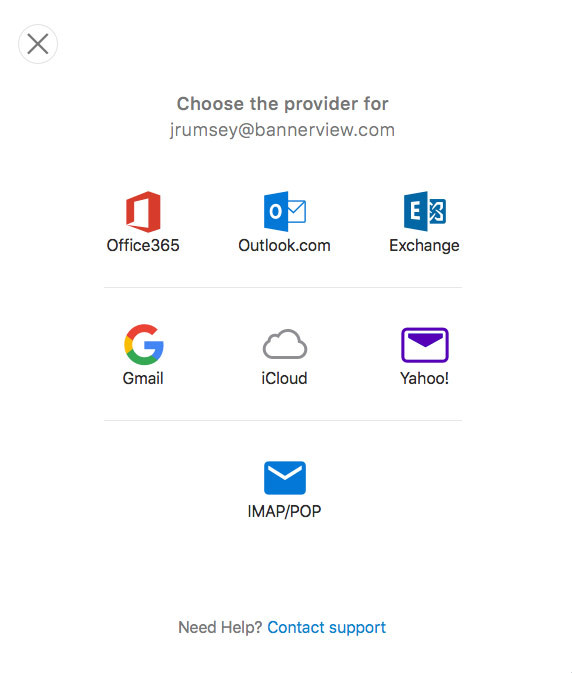
* If it takes too long to load, click "Choose the Provider" and on the next page click IMAP/POP.
Step 4
Complete the following fields:
Account Type: Choose POP (to save space on your web server) or IMAP (if you would like your account to be synced on all devices)
Email Address: Enter in the full email address of the account you are setting up.
Username: Enter in the full email address again.
Password: Enter the password used for the email account.
Incoming Server: Enter in planname.bannerview.com
(Replace 'planname' with your hosting plan name, which is usually the same as your BannerView.com hosting account username. If you're not sure, your plan name can be found in the Welcome email you received when you signed up for services, or by logging into your BannerView.com hosting account and scrolling to the bottom of the Account Dashboard. Confused? Watch this Video).
Incoming Server Port: POP is 995 and IMAP is 993
Check Use SSL to connect (recommended)
Outgoing Server: enter in smtp.bannerview.com
Outgoing Server Port: 26
Check Use SSL to connect (recommended)

