Tutorials

Windows Mail Tutorial
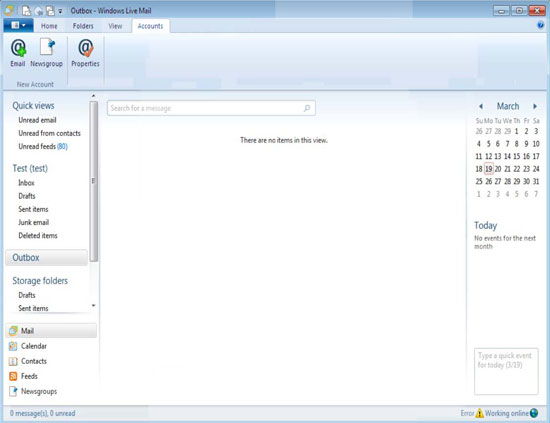
Step 1

In Windows Live Mail, go to the Accounts tab menu and click on Email...

Step 1

Step 2

Complete the information below as specified:

Email Address: Enter in your full email address

Password: Enter in your password for this email account

Check the box: Remember password

Display Name for your sent messages: Enter in your full name as seen by others

Check the box: Manually configure server settings
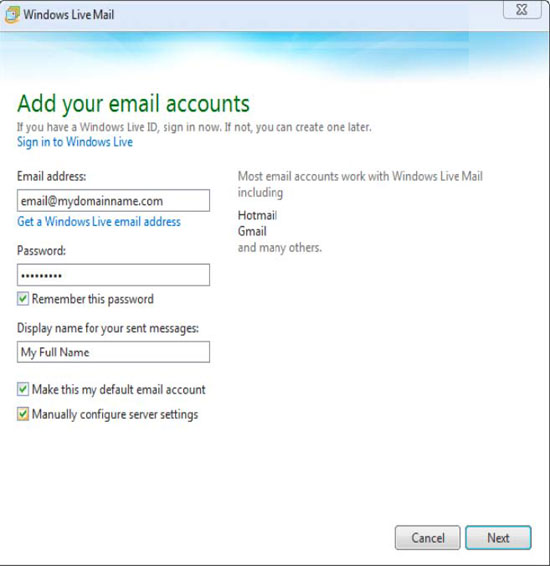
Step 2

Step 3

Click Next

Step 4: Configure Server Settings

Complete the fields as specified below:

Server Type: Choose POP
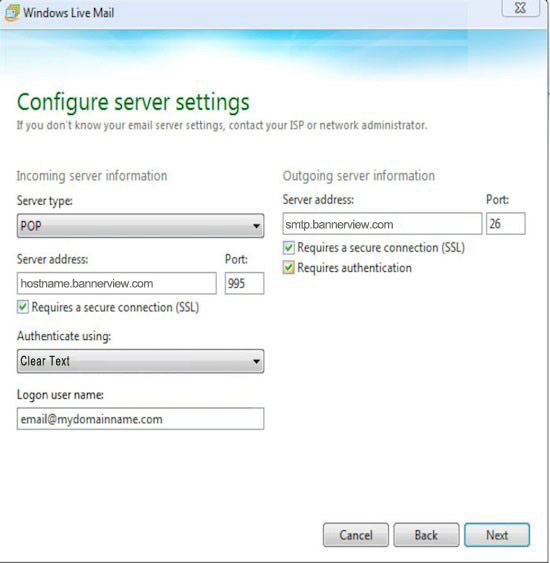
Server Address: Enter in planname.bannerview.com
(Replace 'planname' with your hosting plan name, which is usually the same as your BannerView.com hosting account username. If you're not sure, your plan name can be found in the Welcome email you received when you signed up for services, or by logging into your BannerView.com hosting account and scrolling to the bottom of the Account Dashboard. Confused? Watch this Video).
Port: 995
Check the box: Requires a secure connection
Authentication using: Clear text
Logon User Name: Enter your full email address including the domain name after the @ sign. This is case sensitive and should be all lower case letters.
Server Address: Enter in smtp.bannerview.com
Port: 26
Check the box: requires Authentication

Step 4

Step 5

Click Next

If you see an error message, click Yes to use the server.

+