BannerBilling: Create & Modify Invoices
Invoices make use of line items to communicate charges to your customers. They can be generated as needed for ad hoc or 'one off' services, or set to automatically generate based on a set schedule for each customer.
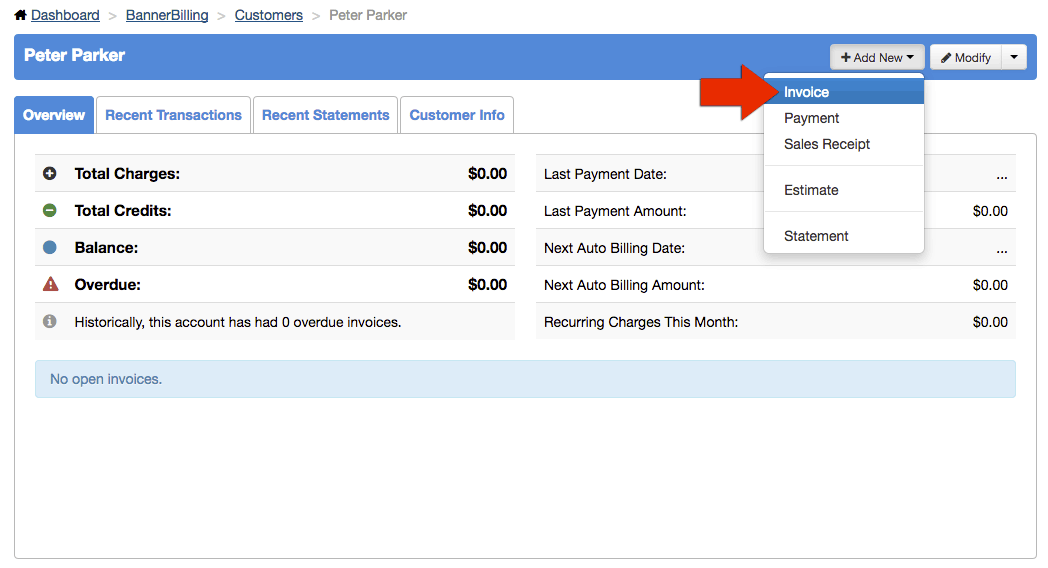
Create a new invoice from the Customer View screen by selecting 'Invoice' from the 'Add New' menu in the top right corner of the overview.
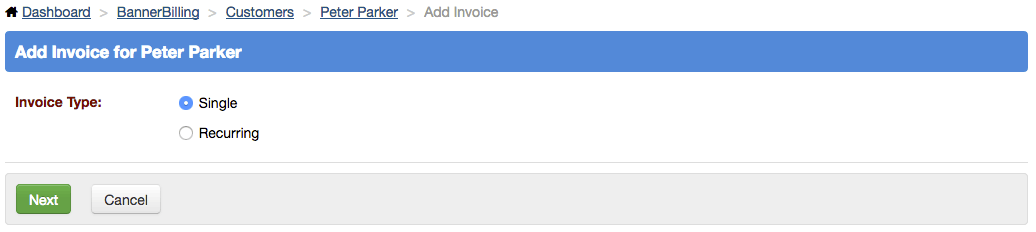
The first step of creating an invoice is deciding whether it will be an automatically recurring invoice, or a one time bill.
With a 'Single' invoice type, you will need to specify the invoice date, the terms, and the line items. The terms are the way that the due date is determined, with the default being 60 days from the invoice date. You can also choose a fixed date, the date of receipt, or a few other time frames.
The following screenshot shows creating a single type invoice for a one time setup fee, with a one month term.

Text entered into the 'Internal Memo' field will not reflect on the invoice sent to the customer, and the line item description will be auto populated with the stored description for the line item, but it can be edited or added if not specified in advance. Clicking 'Save' will take you to the view invoice screen.

For a recurring type invoice, most of the options are the same, but you also have fields to specify the invoice frequency and duration. The invoice can be set to cycle on a specific day each month, weekly, or many other combinations. The next screenshot shows a monthly service invoice that is generated every second Tuesday, monthly.
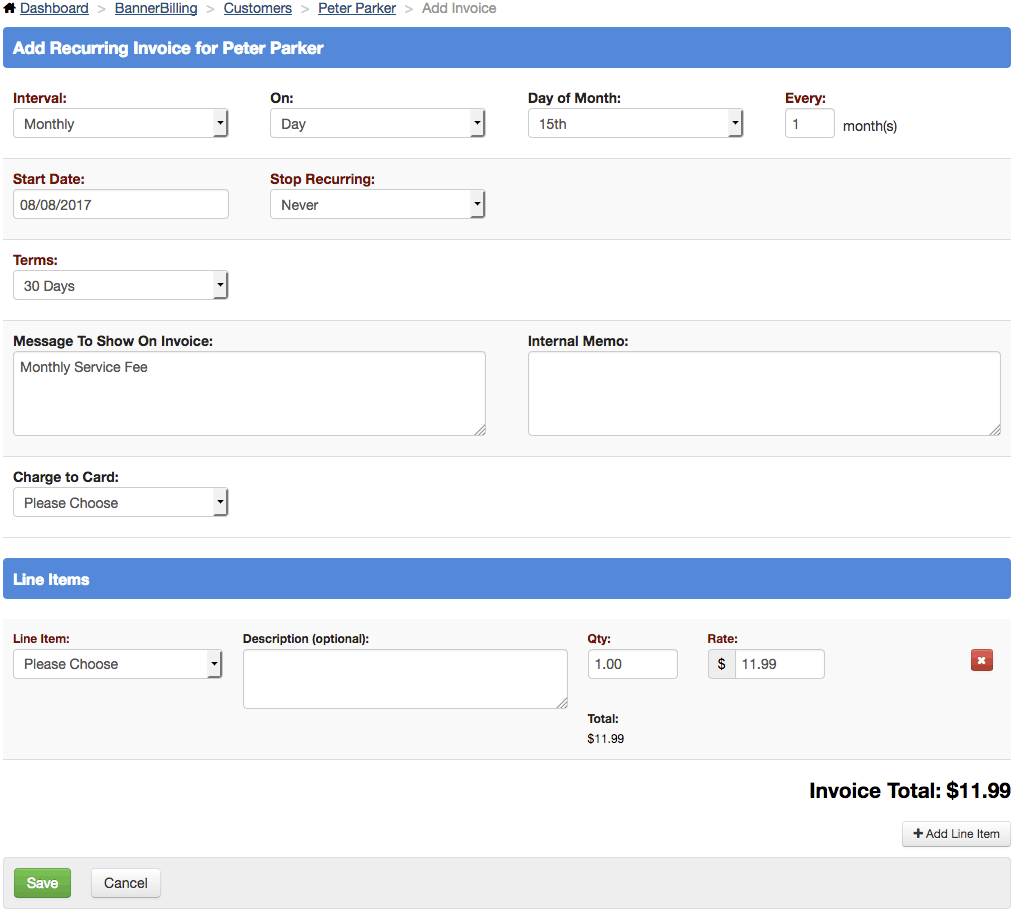
Currently, prorating is not an option with recurring invoices, so in a situation where the time between the start date and the cycle date is less than a normal billing cycle, that can be covered by creating a single type invoice for a reduced amount due on their cycle date, and a recurring invoice with the normal rate and a start date of the first due date.
Once the invoice has been successfully saved, it will be added to the Customer Overview on both the 'Overview' and 'Recent Transactions' tabs. Additionally, the stats on the overview tab will update to reflect any balance changes and their future billing dates.
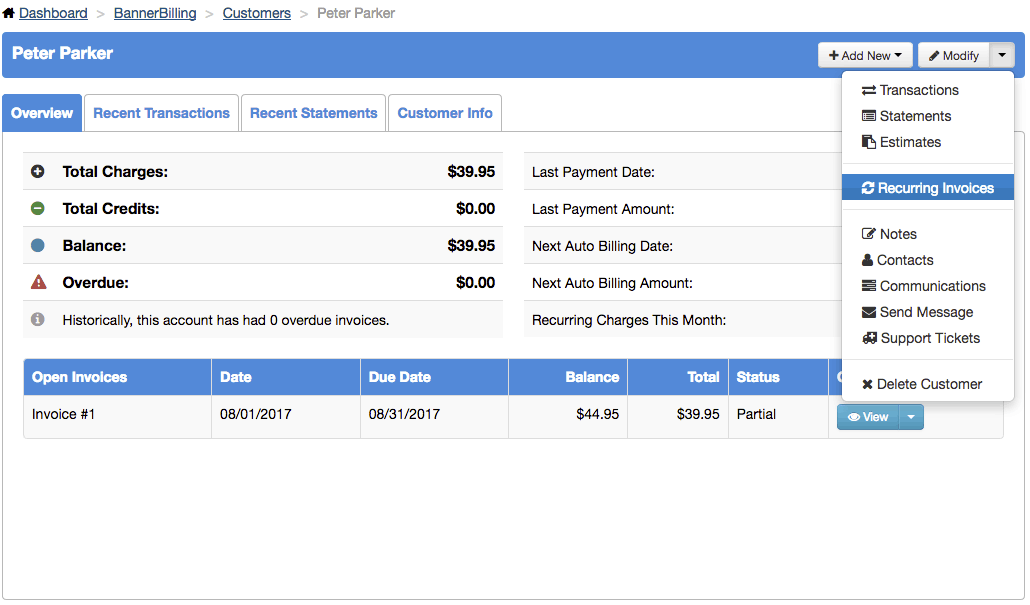
The dropdown arrow on the 'View' button for each invoice will let you manually send the invoice, or view the print version to see what the customer will be receiving.