BannerMerchant: Create & Modify Products
Begin adding a new product by clicking 'Add New Product' from the 'Products & Inventory' tab or 'Add New' from the drop down at the top of the screen.
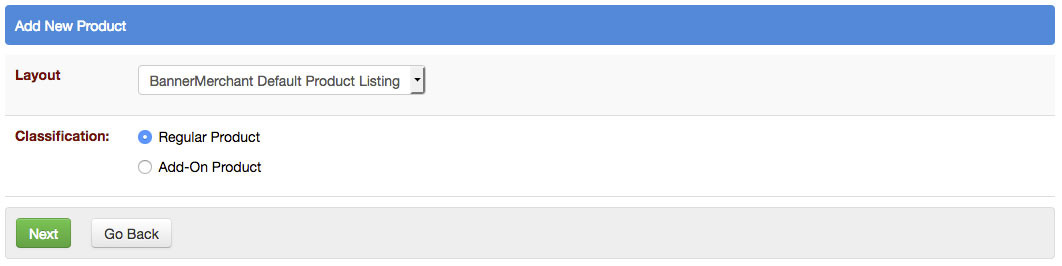
The layout option is to select a non default layout if you've created one, and the 'Classification' field lets you flag a product as an 'Add-On' which requires another specific product to be in a visitor's cart in order to purchase.
After clicking 'Next', you'll be able to enter specifics for the product to be added. The basic information section lets you name the product, set description and summary of the product, specify maximum quantities, and set eligibility for free shipping.
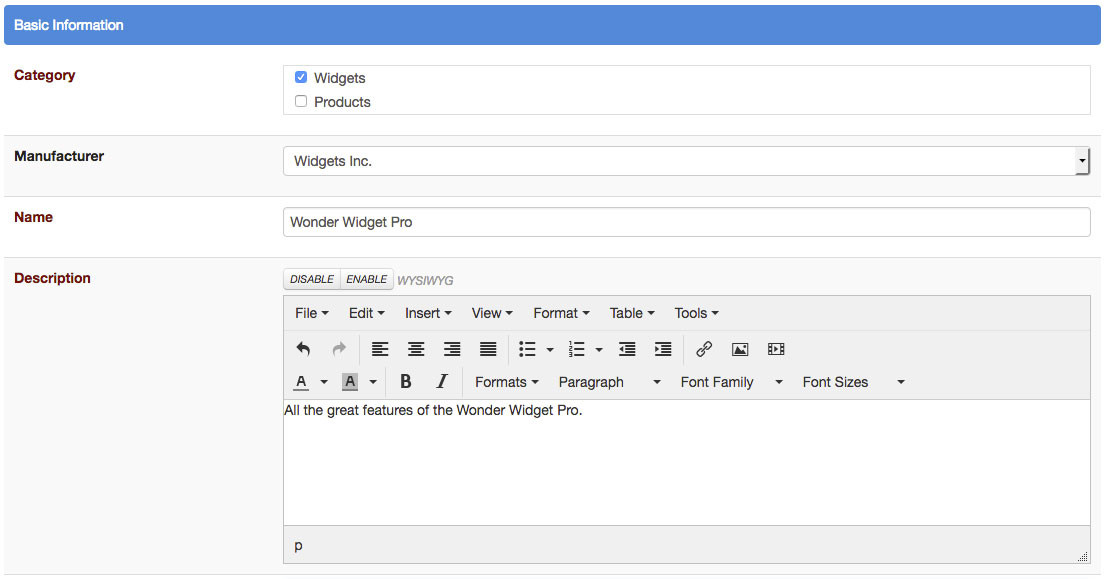
At the time of this writing, the 'Use Summary Content as Meta Description' option updates the 'Meta Description' field, but does not actually affect the meta description tag on the page. Fields with maroon text are all required and fairly straightforward, but the Sale Price Output is an important one also, if you want your visitors to be able to tell when a listed price is lower than the normal base price. Checking it will make sure that the base price will be shown with a strike through it beside any current price that happens to be lower.
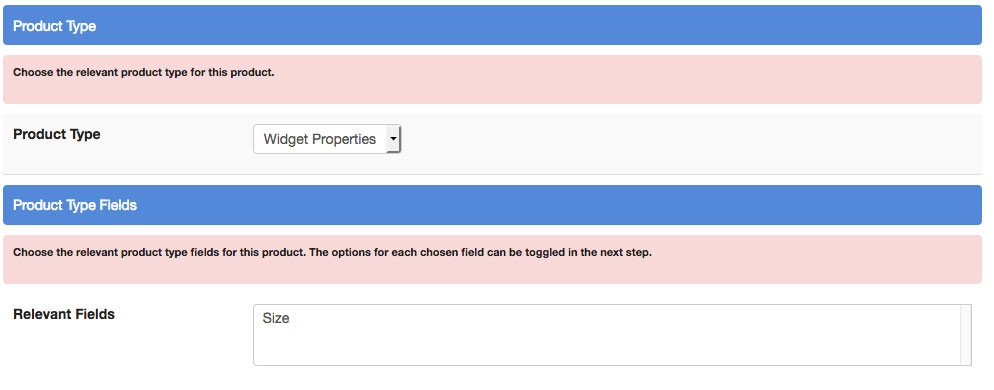
At the bottom of the page you'll find the option to associate a product type, and then specific variables within the type.
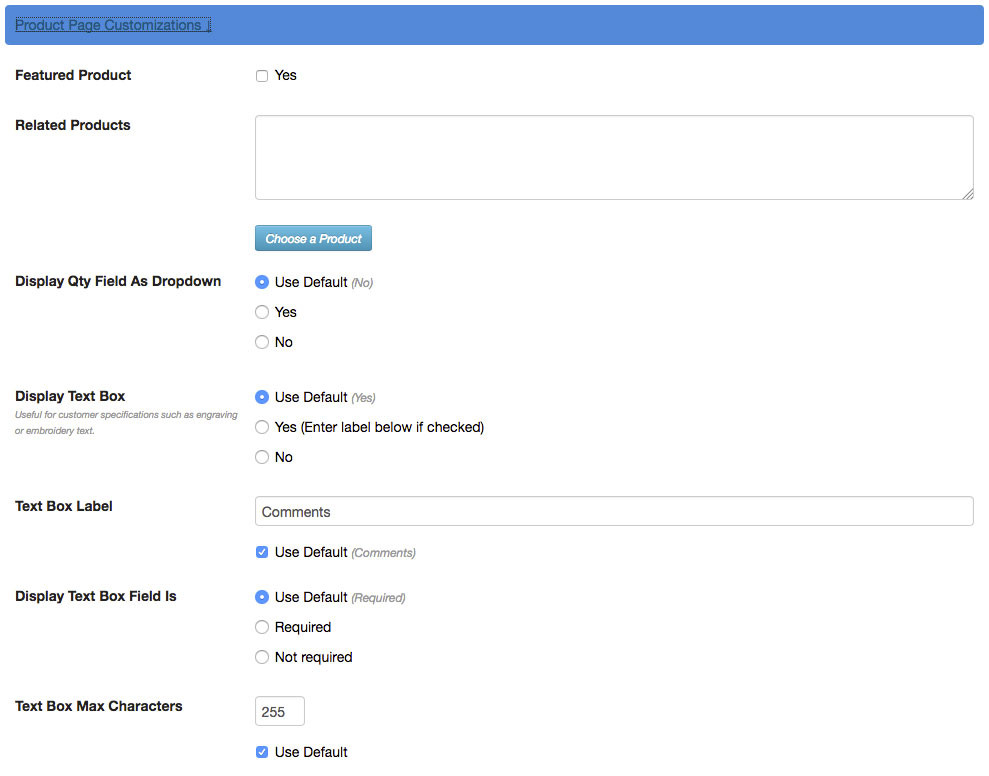
The collapsed 'Product Page Customizations' section adds functionality to individually customize the display page for this product. Specifically to set the quantity up as a drop down instead of a textual input, or to add and label a text input for additional information like comments. You can also link related products, like add ons or peripherals using the text box and product chooser.
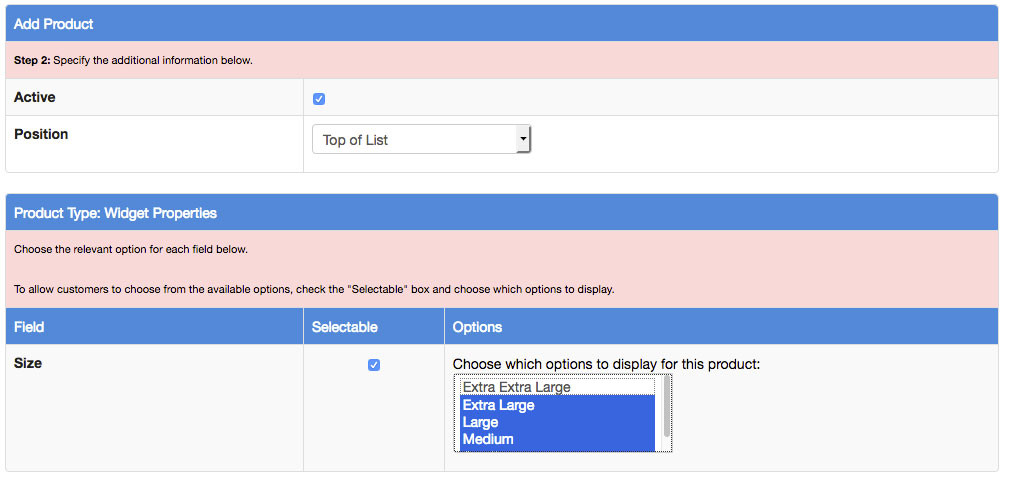
Continuing to the next page, if you've added a product type, will allow you to select the available options for each enabled field. Click the 'Selectable' checkbox for each field you want to make options available for, and highlight available options for the current product.
Clicking continue and save will yield a success message, and give you the option to manage the new product. Click the manage product button to finish editing the product type options.
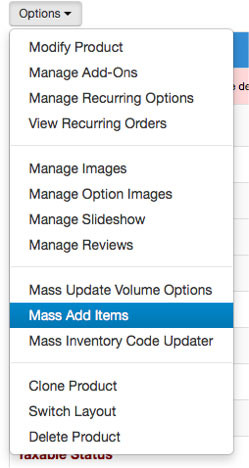 Frequently, different options come with different prices. In order to set those prices, and finalize the options, you must add each option from the manage product page. You can either click 'Add' next to each option at the bottom of the page, and populate values, or choose 'Mass Add Items' from the options button.
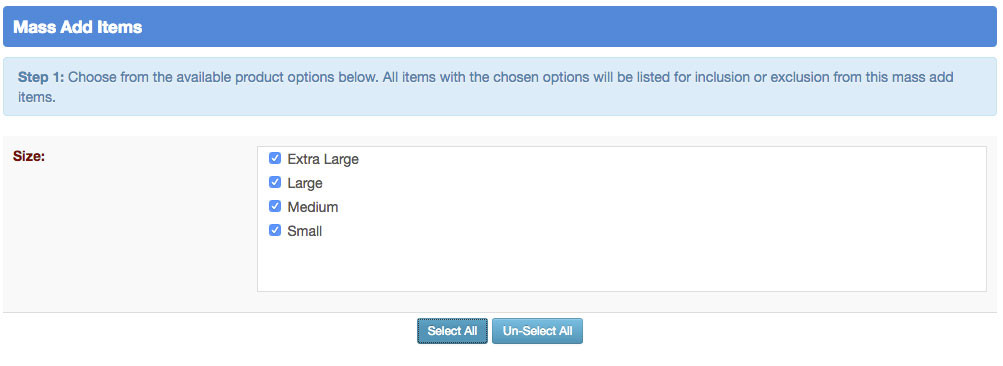
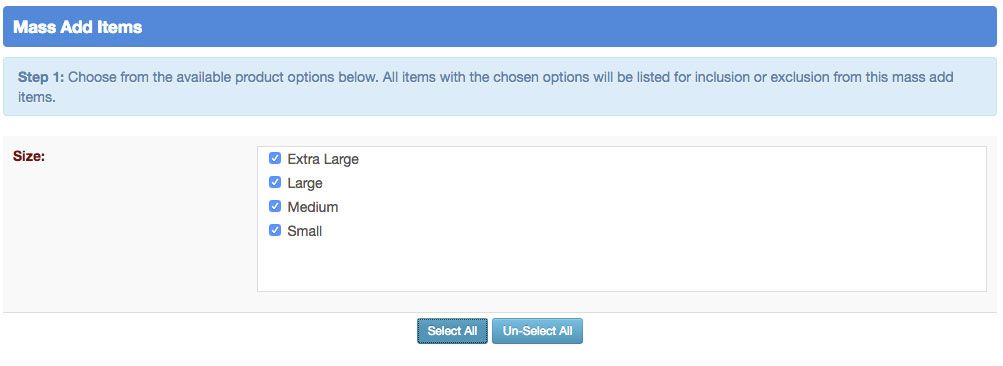
Select all available options you want to add and configure, then click continue.
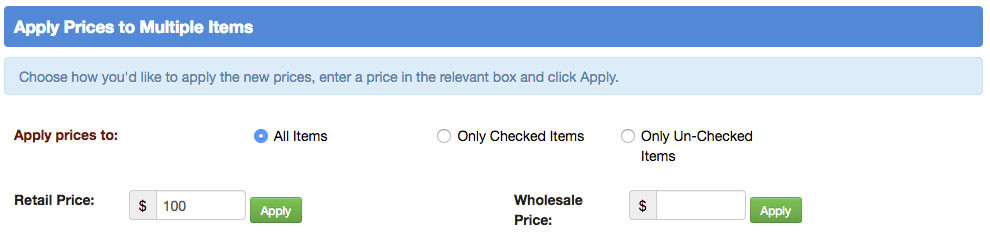
Use the top section to selectively add retail or wholesale prices to all or specifically selected or excluded option combinations, and click apply.

Clicking continue after specifying prices for each combination individually or collectively will take you to the item number generation screen. Because of the number of possible combinations with multiple fields and options, it is typically preferable to use the generator to automatically generate the item numbers.
The final screen lists each field / option combination with the prices and generated item numbers to review before saving.
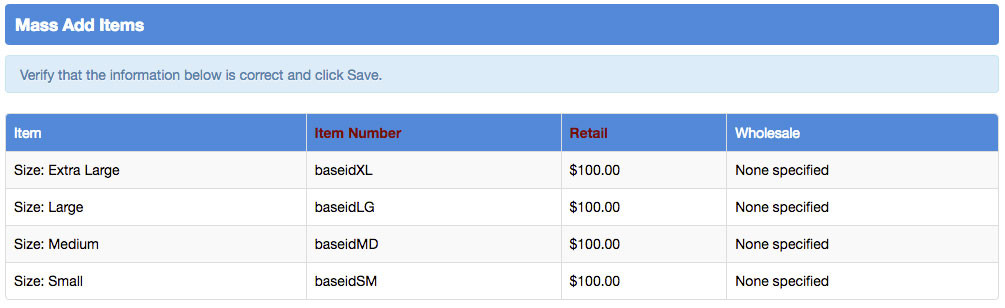
Assuming everything is correct, click save and repeat this process for each item you'd like to add.